NOTE: I am not a paid staff of Olympus and neither am i getting paid to write this article. I just happen to like their mirrorless system very much. If you have read my first few posts, you would know that I have tried almost every brand out there from various DSLRs and Mirrorless manufacturers. I settled on an Olympus micro 4/3 system because it has (almost) all the features that I need for my macro work. Read more about my journey to mirrorless here.


IMPORTANT UPDATE (Aug 2016): I have since made some modifications to the design of my diffuser and changed my flash to the Meike MK 320, as shown in the photos above. To see how well it works (or not), you might want to click here, although i would highly suggest that you read the rest of the article first. Video tutorial on how to build the above-mentioned diffuser can be found here!
-----------------------------------------------------------------------------------------------------------------------

Limacodid caterpillar under UV-Light
I know that this post is long overdue but better late than never! I would only be covering the equipments that I use for close-up macro photography and not techniques to keep this entry as succinct as possible. This was never intended to serve as a technical tutorial. However, I will be providing links to several technical reviews from better qualified individuals throughout this post so please feel free to click on those. We all have different needs and level of compromise - What has worked for me may not necessarily work for you. Feel free to adopt or expound on my ideas and if it works for you then great! And by the way, 99% of my shots are handheld with the exception of UV-Light photography where I use a small tripod. In both cases, I use Full-Manual Settings. Without further adieu, let's get started!
Author's Note: I have received some requests for a review of the equipments I use for my Wide-Angle macro and herping (reptile) shots. Be sure to subscribe in 2016 for more updates!
1. MY CAMERA BODIES.
I started out with the OMD EM5 (Technical review here) before upgrading to an OMD EM1 (Technical review here). Any difference in the image quality? In my opinion, no, although the latter has some useful features that are absent in its predecessor like Focus-Peaking and an improved inbuilt stabiliser.
Olympus OMD EM5 (Spare Body)

Front View of the EM5 (apologies for the poor IQ, pictures taken with an old point and shoot camera).

Back View. Very clean layout.

Top View.

With the Olympus HLD-6 battery grip. I highly recommend this.

Back View with the Olympus HLD-6 battery grip.
Key Features that i liked about the OMD EM5:
1) Electronic View Finder (EVF). I absolutely adore this! Gone are the days where you have to second guess yourself about setting the right Exposure or White Balance. Now you are able to see exactly how the Final Image would turn out, even before releasing the shutter! What you see is a true representation of the Final Image. Amazing!
2) Live-view Boost. With this feature, I was able to practically shoot in relative darkness because for some magical reasons, the monitor stays bright even with ridiculously small aperture values. This is absolutely crucial in macro work, especially when I have my camera stopped down to f-22, rendering the focus light useless without Live-view Boost.
3) 5-axis Stabilisation. Over time, I have developed some camera handling skills and I would like to think that my hands are stable. Having said that, I am not afraid to admit that many of my shots would not have been possible without this feature.

A tiny Cyclosa sp. with its intricate web stabilimentum design.

Argiope argentata spotted off the rugged Californian coast during my trek to the Big Sur. It was swaying wildly in the wind but thanks to the 5 -axis stabilisation, I was able to freeze the frame with the right settings and handling technique.
4) Size. It is amazing how Olympus has managed to pack so many features in such a tiny body!
5) Fully customisable. Despite its tiny size, it has more dials and buttons than a F-16 Fighter Jet Cockpit. Even more so for the OMD EM1.
Olympus OMD EM1 (Main Body)

Front View of the EM1.
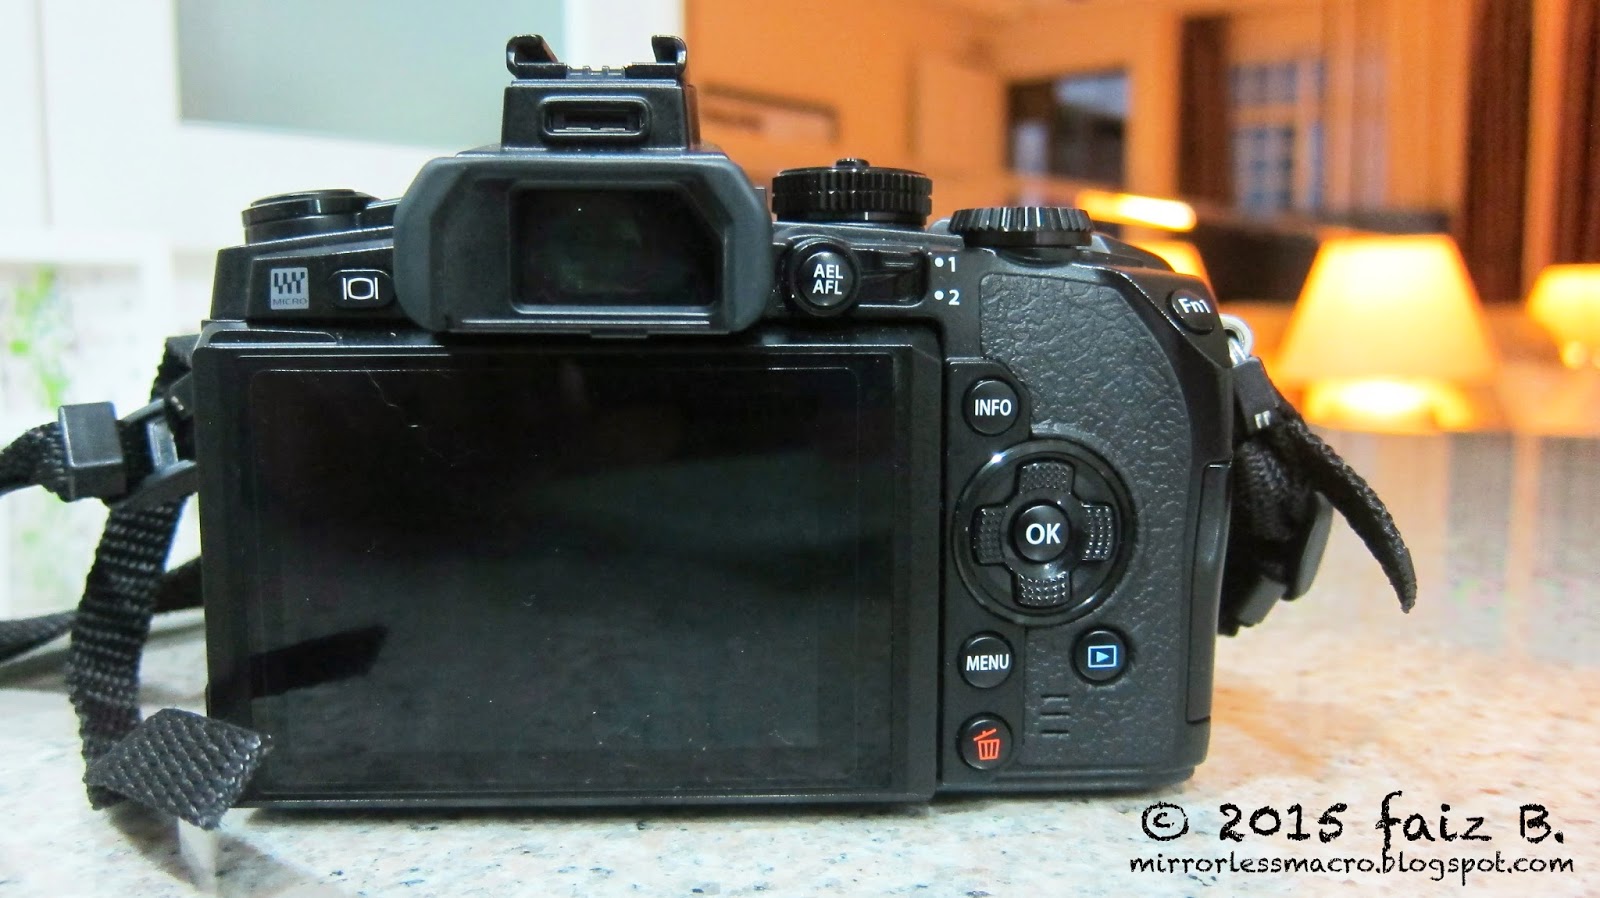
Back View.

Top View. Check out the dials! Better usability than the EM5, in my humble opinion.

View of the OMD EM1 from the side. Notice that I have the focus lights on.
Key features that i liked about the EM1, above and beyond those already mentioned about the EM5:
5) Focus-Peaking: With a simple twist of the focusing ring, I am able to identify which area is in focus, thanks to the red/white streaks reflected onto the image on the EVF. This feature is usually switched off when I am out in the field because most of my preferred subjects move faster than I can turn the focus ring, rendering it pretty useless. However, for non-moving subjects, this feature is a gem. No idea what I am talking about? Watch this awesome video tutorial by Damien McGillicuddy here!
6) Better Grip. With the EM5, I feel that it slips off the hand pretty easily after a long day of shooting. The remedy? Slap on the Olympus HLD-6 battery grip and instantly it feels like you're holding a different camera altogether. The EM1 comes with an ergonomically-designed finger grip, out of the box.
7) Better weather-sealing: The EM5 is fairly weather-sealed but nothing like what the EM1 has to offer. This tank of a camera have survived many hair-raising encounters (I am a klutz) such as falling from a moving vehicle, amongst other horror stories. I have been caught in heavy rain twice with the EM1 and despite being dripping wet, it worked perfectly fine. You might want to check Blunty's youtube video where he famously soaked the camera in a tub and gave it a good bath. Watch that Epic video here.
2. MY LENS.
I only have one macro lens now, the Olympus M. Zuiko ED 60mm f2.8. Sold the Panasonic Leica DG Macro-Elmarit 45mm f2.8 ASPH, MEGA O.I.S Lens after acquiring the Olympus lens. (What a mouthful!)
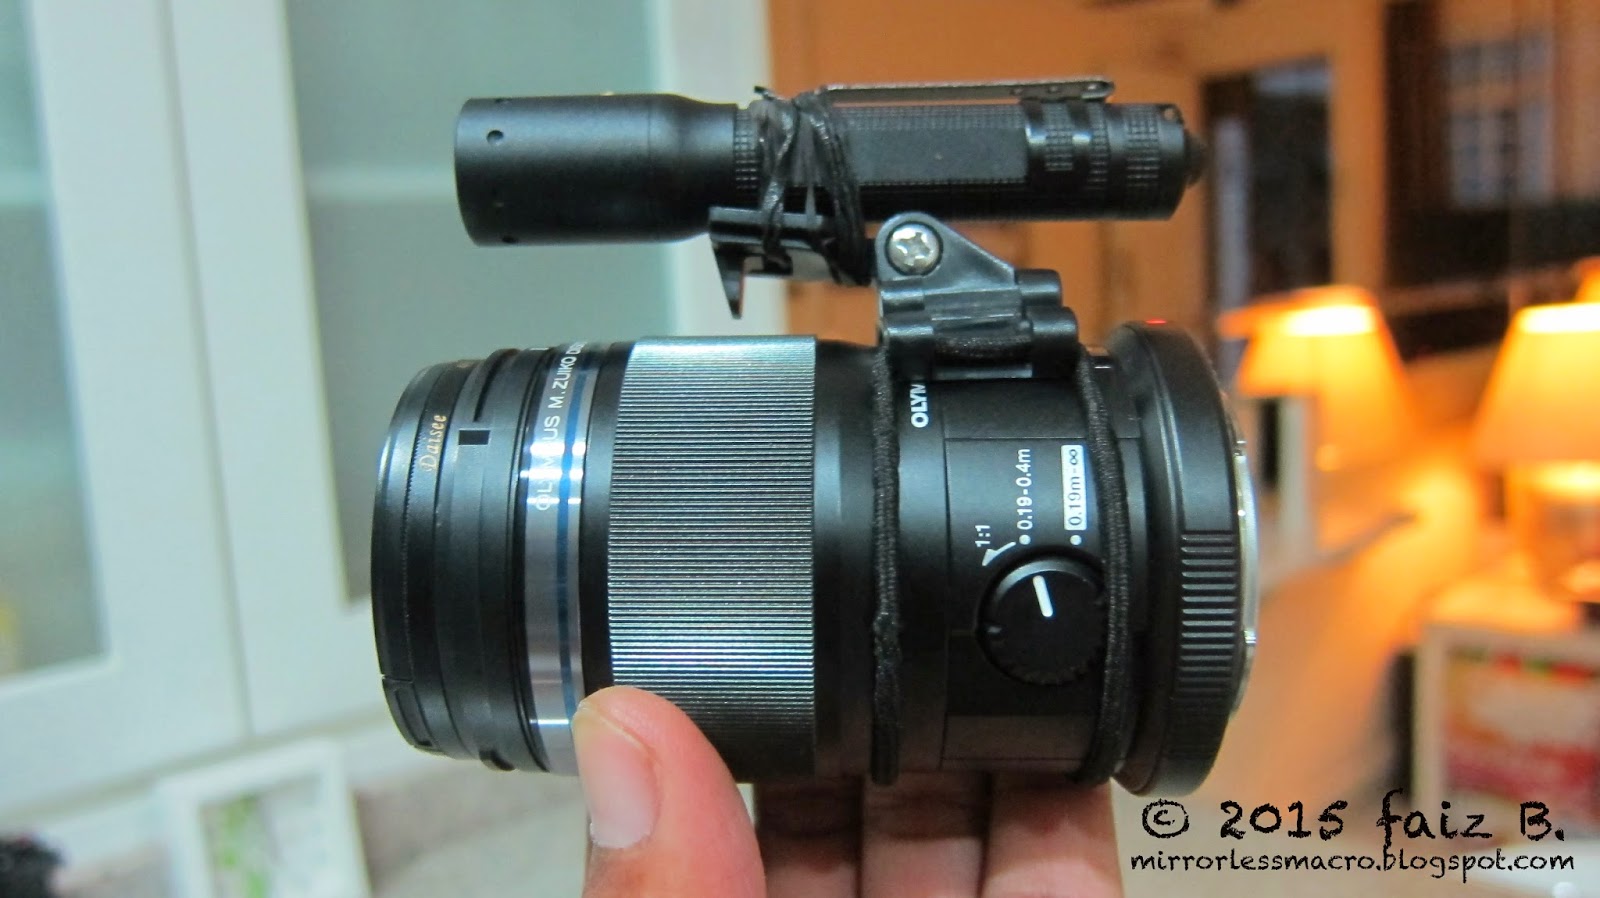
One of the best lens I have owned, hands down. Attached to the lens is a torchlight that I use to focus onto my subjects.
Key features that i liked about this Lens:
1) Weather-sealing: I am constantly exposed to the elements so having a weather-sealed lens helps to keep my mind at ease. What is the point of having an awesome weather-sealed camera body if the lens isn't?
2) It is ridiculously TINY. It is known to takes stellar photos but Image Quality is not what I


To achieve these shots, I held my flash (Olympus fl-600r) in one hand, pointing it directly behind the subject while holding the camera in the other, wirelessly triggering the slave from the onboard flash (fl-ML2). I probably would have fatigued quickly if not for my lightweight equipments. For more on this awesome lens from Blunty , click here.
3. FLASHES
I have 3 units, the Olympus fl-LM2, the Olympus fl-14, and the Olympus fl-600r.

Olympus Fl-LM2 that comes bundled with the OMD EM5.

The Olympus Fl-14... Sleek!

Back view of the Fl - 14.

The most versatile Olympus flash ever, the Fl-600r.

View from the back

My set-up without the diffuser.

The same set-up but with my DIY Diffuser. View from the side.

How it looks from the front.
With this simple set-up, I am able to achieve shots like these:

Banded Bullfrog (Kaloula pulchra)

An unidentified gecko.
4. MAGNIFIERS
To achieve greater magnification shots, I used the Raynox DCR-250 conversion Lens and an Extension Tube.

Some Cheapo Chinese-Brand Electronic Extension Tubes. Worked well for me.

Raynox dcr-250, a very useful clip-on magnifier that i use to get higher magnification shots.
Some results from these add-ons:

Arks cf. alatus; 10mm. And yes, it is a spider!

A tiny Asilid perched on a branch slightly thicker than a matchstick. (<5mm)

Close-up of an Epeus flavobilineatus!

A tiny jumping spider, probably a Carrhotus sp. we found on a Frangipani plant. (8mm)

Harmochirus sp. with prey. This Jumper has a legspan of less than 5mm!
This is, in my opinion, the most important part of the set-up. Having an ineffective diffusion is akin to having Toyota brakes on a Ferrari, you are compromising on control. Pretty weird analogy when talking about camera set-ups but think about it - You can have all the features that you dream of having in a camera, lens, or flash but without proper control of the lighting i.e. diffusion, the image will almost always fall flat. I engage different layers of diffusion materials depending on the light-reflective nature of my subjects. There is so much to talk about this seemingly simple topic that it deserves an entry of its own.
I will talk in greater detail about my diffusion methods in future posts so do stay tuned! I hope that you found this useful especially if you're still exploring on which camera or system to get. If you ask me, it is certainly possible to take very decent shots with a Micro 4/3 mirrorles system.
UPDATE: 1) To learn more about my diffusion techniques and flash set-up, click here.
2) To learn more about my backlighting techniques and equipment set-up, click here.


