
First mistake this year with the watermark!
Reptiles and Amphibians are some of the most captivating groups of animals to observe and photograph in the wild. There is something so alluring about them that naturally draws you in. Having said that, they are certainly not the easiest to work and produce aesthetically-pleasing photos with! There are many factors to consider while photographing them.The most important one has nothing to do with the gears that I am using; It concerns Safety. Animal-related accidents happen when the lack of knowledge meets carelessness. Therefore, it is important that you educate yourself about the animals that you're working with especially when they could potentially bring harm to you and vice-versa. This is particularly true for snakes, for obvious reasons.
Before I begin sharing my camera gears, please allow me to also share some simple practices that I undertake before/during each herping trip to ensure the my safety and just as important, the safety of the snake.
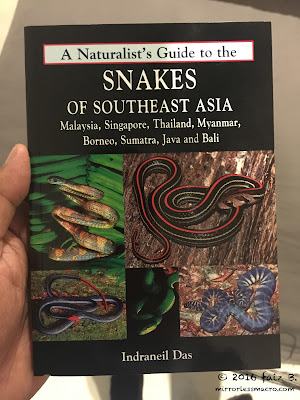
1)Is it venomous? Carry a snake identification guide-book with you whenever possible. I always carry an identification book with me on all of my local and South East Asian trips. There is a fundamental difference between a mock-viper and a viper. Learning to differentiate between the two could save your life!

2) Should I touch it? Never attempt to handle a snake either by hand or snake-handling equipments unless you are 110% sure that it is absolutely safe to do so for both you and the snake. eg. venomous species, snake in the state of moulting or feeding, etc.
3) Bring Someone along if you can and have the emergency telephone number on your speed dial. If that snake doesn't get you, something else just might, like the rock that you just tripped on. Resist the temptation to herp alone - This is a hard one for me because I work in an environment where I deal with people a lot and it could get rather mentally draining at the end of the day. I find wildlife photography to be therapeutical and nothing is more relaxing than going out into the forest alone at night. This is easier said than done!
4) Don't tell your spouse or parents. Just kidding... Have them on speed dial.
Now that I have gotten this off my chest - Let's move on to the Fun Part: Gears i use for herpetofauna photography!
TYPES OF PHOTOGRAPHY AND CORRESPONDING GEARS

Gears that I bring with me on my trips. No Pro lenses here!

TYPES OF PHOTOGRAPHY AND CORRESPONDING GEARS

Gears that I bring with me on my trips. No Pro lenses here!

The best thing about owning OM-D camera gears is knowing that everything is tiny and lightweight! Case in point is that almost everything fits snugly in a tiny protective case measuring just 26 X 18cm! I keep the rest of my stuff like my collapsible snake-handling equipments and batteries in other compartments of my waterproof bag. I only bring a small Gorilla Pod with me to minimise the overall weight.
There are 3 main types of Herpetofauna Photography that I enjoy doing:
(A) Close-up (to highlight the intricate patterns or colours)
(B) Half or Full-body shot (to document behaviour and general outlook)
(C) Wide-Angle (to show it in its natural habitat)
I am not a fan of switching lenses out in the field and as a result I always carry two mirrorless camera bodies, the OM-D EM1 and EM5, with the appropriate lenses and lighting set-up for (A) and (B + C) respectively; My current EM1 lighting set-up has been optimised for close-up photography while the EM5 is tuned more towards lower magnification work. To find out more about these equipments, click here.
Do I really need 2 different bodies and 3 different lenses? Of course not. I could probably make do with just one body and one lens with a versatile zoom range like the Olympus M.Zuiko ED 14-140mm f4-5.6 (with the appropriate lighting set-up for all focal distances). Whatever your choice is, having a properly diffused lighting system is key in getting good images of our cold-blooded friends, due to the reflective characteristics of their skin. You can read more about proper light diffusion here.
Do I really need 2 different bodies and 3 different lenses? Of course not. I could probably make do with just one body and one lens with a versatile zoom range like the Olympus M.Zuiko ED 14-140mm f4-5.6 (with the appropriate lighting set-up for all focal distances). Whatever your choice is, having a properly diffused lighting system is key in getting good images of our cold-blooded friends, due to the reflective characteristics of their skin. You can read more about proper light diffusion here.
My OM-D EM1 set-up consists of the following gears (For Close-up Shots):
1) EM1 Body
2) Olympus 60mm lens
3) Olympus fl-14 Flash
4) Raynox dcr-250 converter lens (optional; for additional 2.5X reach)
5) DIY Diffuser & reflector


I use this set-up for my close magnification work. For 2.5 times the magnification power, I clip the Raynox dcr-250 onto the step-up ring attached to the lens filter.
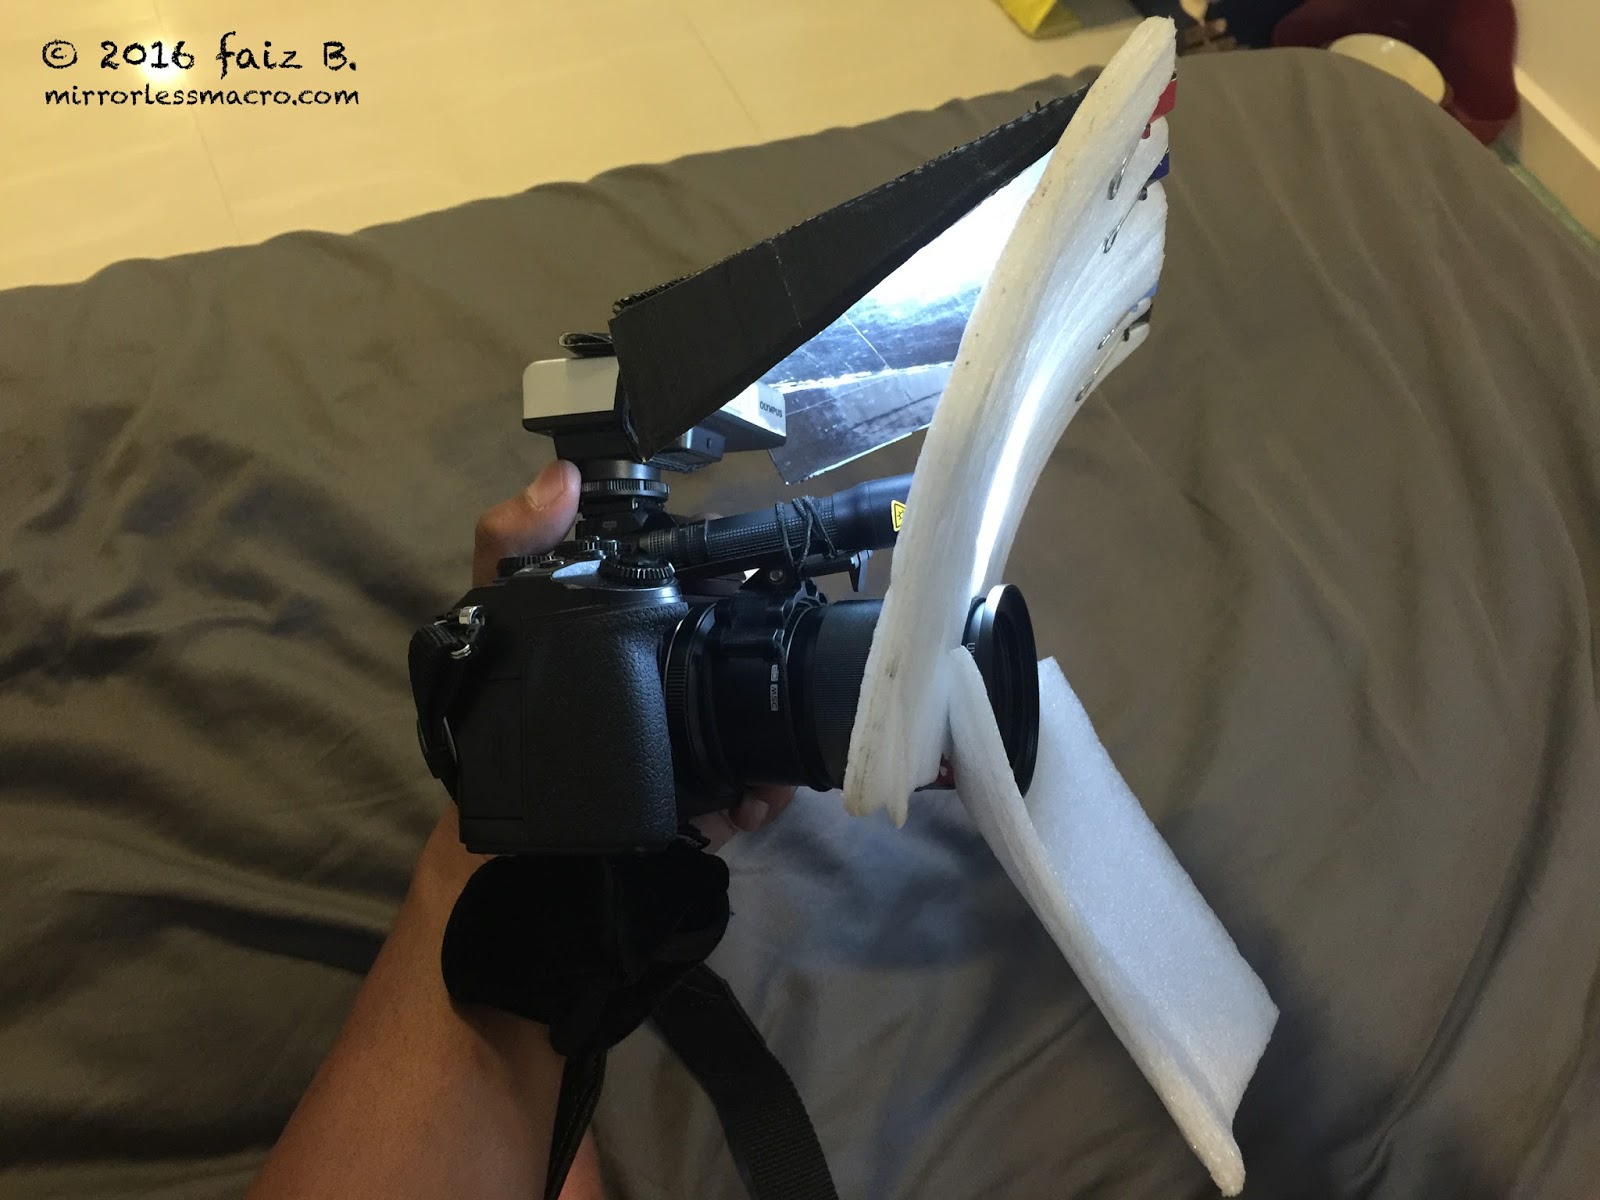
I attach a square piece of white foam to reflect the light from the flash, upwards, eliminating any unsightly shadows.
Due to the relatively low Guide-Number (GN) of the Olympus fl-14 flash and the downward-pointing design of my DIY Diffuser, the EM1 set-up is used for close-up shots - mostly head shots of snakes and other smaller reptiles, amphibians and bugs. To understand more about Guide Numbers and how it can affect your photography, do check out my previous post here.
My usual camera-settings for close-up work:
1) Native ISO - 100: I seldom find the need to crank up my ISO. My current flash and diffuser system is perfect for my usual working distances.
2) Aperture: f8-f13
3) Shutter Speed: 1/80 - 1/120s; It depends on how much of the background I want in the picture.
4) White-Balance: Auto
5) Picture Mode: Natural
6) Metering: Spot
7) Image-Stabilisation: All Direction Shake I.S
8) Focusing: Manual
Some examples of Close-up shots taken with my EM1 Set-up:

A full-grown gecko that measures only 5cm from head to tail (Hemiphyllodactylus cf. typus). Without the reflector, the underside of the branch would have been much darker.

Close-up of the Blue-eyed Robinson's Forest Dragon (Gonocephalus robinsonii), taken with the Raynox dcr-250 attached to the lens.


One of Singapore's most elegant snake, the Kopstein's Bronzeback (Dendrelaphis kopsteini).

Gorgeous female Tropidolaemus wagleri, commonly known as Wagler's Pit Viper.
------------------------------

Gorgeous female Tropidolaemus wagleri, commonly known as Wagler's Pit Viper.
------------------------------
My OM-D EM5 set-up is more dynamic and versatile, with several possible configurations (Wide-angle and Full-body shot):
1) EM5 Body
2) Olympus 40-150mm f4-5.6
3) Samyang 7.5mm f3.5 (Full Manual Lens)
4) Olympus fl-600r Flash
5) Olympus fl-LM2 (bundled onboard flash) ; Used as master flash for off-camera lighting
6) Lambency flash diffuser
7) Godox Collapsible Pop-up reflector
My wide-Angle set-up consists of the EM5 body, Samyang 7.5mm f3.5, Olympus fl-600r Flash, the Lambency flash diffuser and the Godox Collapsible Pop-up reflector.

I have recently started experimenting with half water, half land style of wide-angle photography in my attempt to document amphibians ands aquatic snakes in their natural habitat. More on that in my future posts!
My usual camera-settings for Wide-angle shots:
1) ISO 200 - 600: I would bump up my ISO whenever I shoot with available light during daytime or with flash at night, especially when I want to include more of the background in the picture.
2) Aperture: f 5.6 with the focusing dial set just shy of infinity
3) Shutter Speed: 1/15s
4) White-Balance: Auto
5) Picture Mode: Natural
6) Metering: Centre-weighted
7) Image-Stabilisation: All Direction Shake I.S
8) Focusing: Manual
Some examples of Wide-Angle Shots taken with the above EM5 set-up:

Wide-Angle close-up photography requires far more patience and finesse to pull-off, and these added challenges are the reason why I find it to be so addictive. After spotting the animal, you first have to make a quick scan of the environment and adjust your equipments and camera settings accordingly. Secondly, after making all that adjustments, you have to approach the animal slowly because any sudden movements will trigger its flight response. Once you have taken your spot, pray that no mosquitos, leeches (or anything with biting mouthparts) will come your way because scratching that itchy bum of yours is not an option, especially when your front of lens is barely centimetres away from your subject. Take your preliminary shots, re-adjust your settings, take your shots again and pray that they will come out okay. If you're lucky, the animal might just reposition itself (like this frog) and offer you a few more clicks of that shutter button. I have spent nights after nights without producing a single usable photo but that has never stopped me from trying again. Madness, I love it!

The same frog from a slightly different perspective.

Just a blue-tongue skink strolling around; Southern Queensland.

Spotted this Kopstein's Bronzeback (Dendrelaphis kopsteini) crossing the jungle track. What a beauty! A large pop-up reflector was used to deflect some light into the background. Without it, the background would be completely dark.


I would normally use either the white or gold slipcovers on the pop-up reflector.

Although very little is known about Boiga dendrophila's venom affect on humans, it is comparable to that of a death adder. Poorly evolved fangs and a poor delivery system make this snake's bite likely less than life threatening. I was waist-deep in water and destroyed my shoes and pants in the process but it was worth it. She was a big one. The front of lens was a mere-2 inches from the snake!
For half or full-body shots, everything remains the same except for the lens - I switch to the Olympus 40-150mm f4-5.6, as seen below. Unlike the Ultra-Wide angle Samyang 7.5mm, I have the luxury of standing further away from the subject.

My usual camera-settings for Half-or Full-body shots:
1) ISO 200 - 1600: How high i go with the ISO depends on how far away the snake is and how much available light there is.
2) Aperture: f4
3) Shutter Speed: 1/80 - 1/320
4) White-Balance: Auto
5) Picture Mode: Natural
6) Metering: Centre-weighted
7) Image-Stabilisation: All Direction Shake I.S
8) Focusing: Auto + Manual
Some examples of half or full-body shots taken with the above EM5 set-up:

Asthenodipsas lasgalenensis (Loredo et al, 2013), a recently described species, occurs in highland areas of Peninsular Malaysia, but lacks banding and is mainly arboreal. This was shot with pop-up reflector placed slightly to the side to illuminate the background even more.

Very little is known about these water-loving snakes, commonly known as the Red Mountain Keelback (Amphiesma sanguineum). They are highly elusive and have been observed to dive underwater to escape, making them incredibly hard to photograph. This was shot without the pop-up reflector. Notice how much darker the background is when compared to the previous photograph.

Commonly known as the Dog-faced Water snake (Cerberus schneiderii), it occurs in coastal areas of Vietnam, Cambodia, Thailand, Peninsular Malaysia, Singapore, the Philippines and the whole of Indonesia (excluding New Guinea).
Another benefit of using a zoom lens is the additional reach - an invaluable tool for photographing venomous snakes from a safe distance or arboreal snakes perched high up in the trees.
